The first step to creating a promotion in the NA Product+Upsell A/B Testing Shopify app is clicking on the New promotion button from the Promotions page in the app.
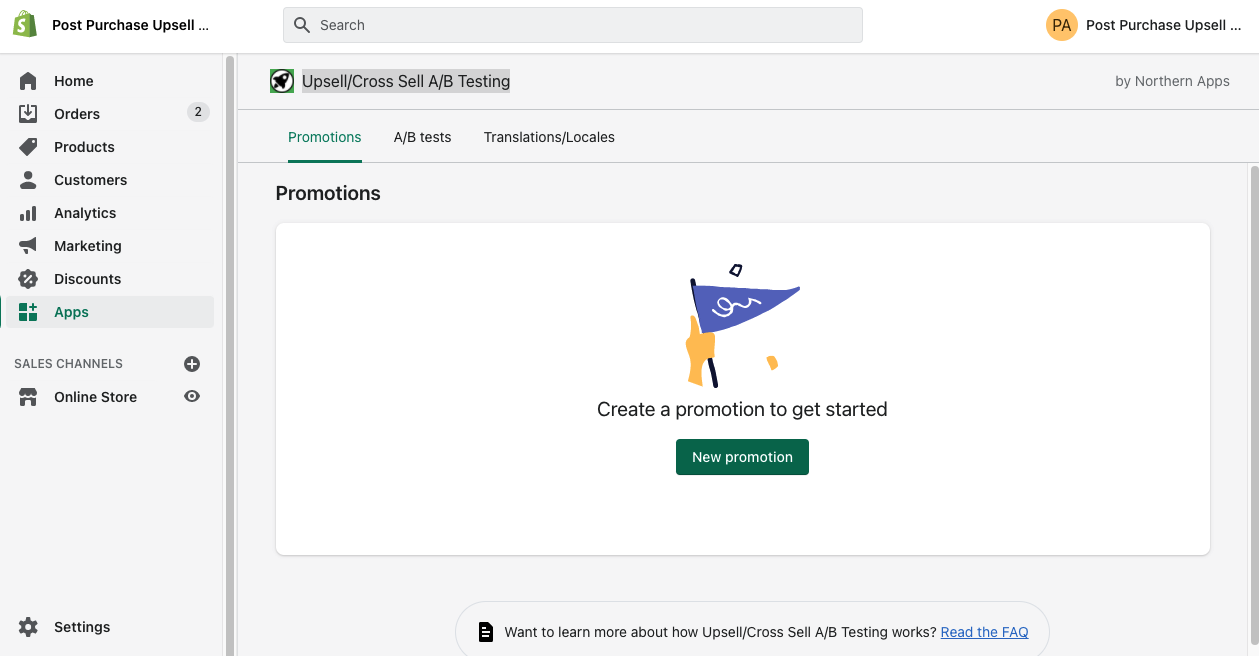
This will bring you to the Add promotion page.
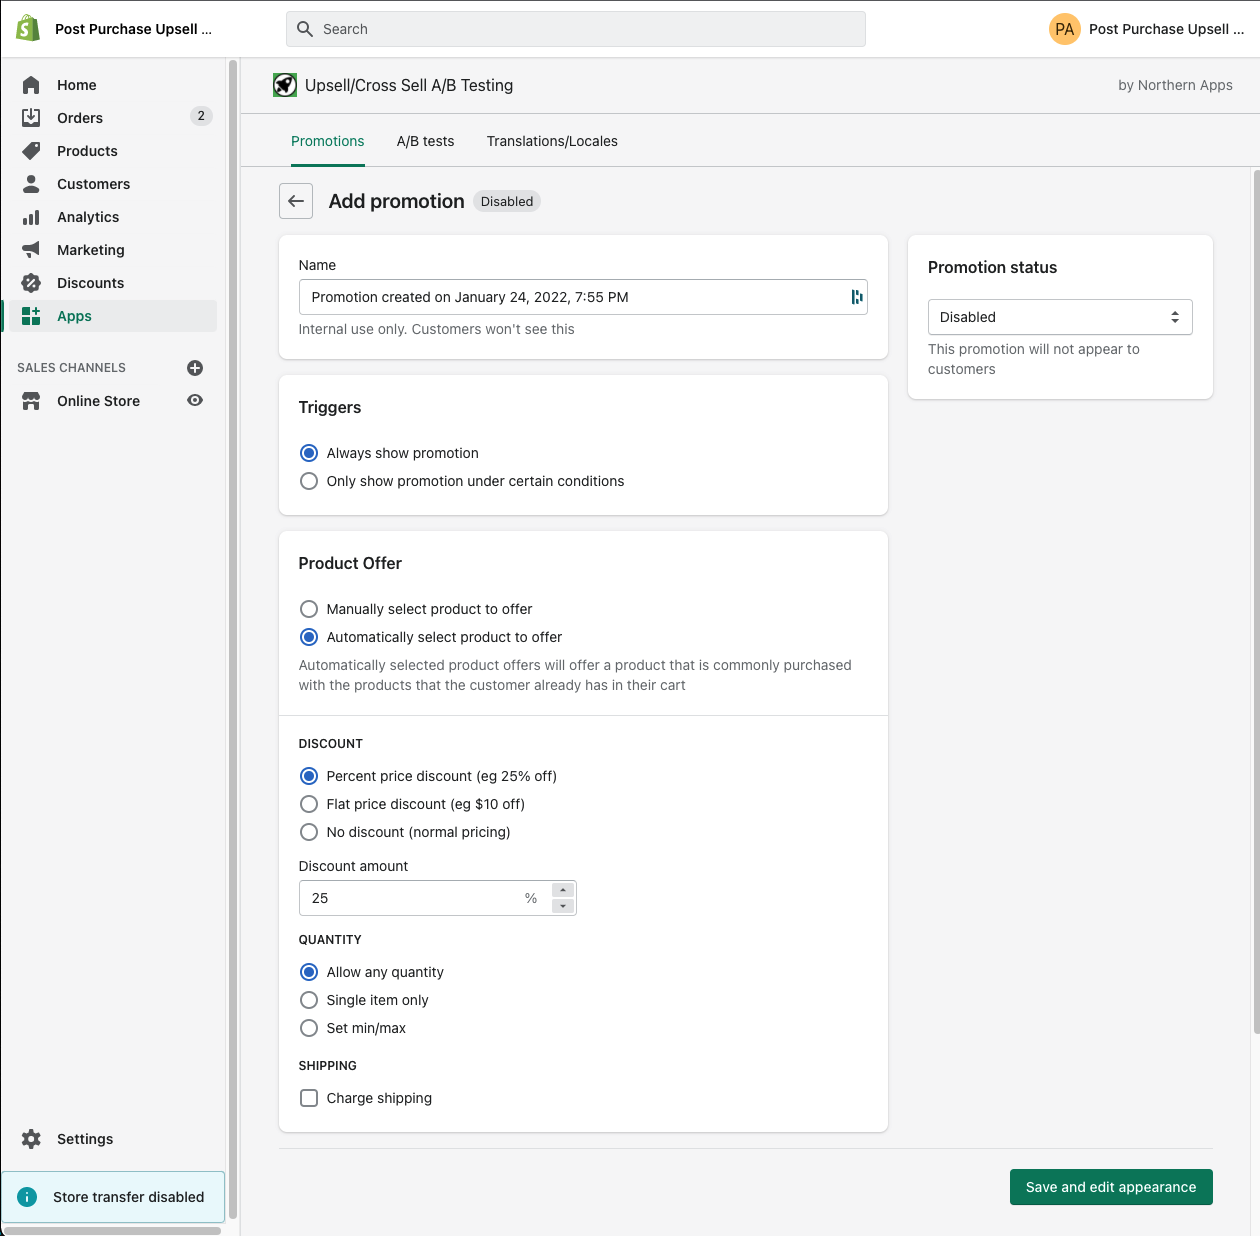
On this page you can change settings to control how your upsell promotion will work:
- Triggers can be changed to control when your promotions show to customers. By default, the promotion will show to every customer after they checkout on the post purchase page. You can edit the triggers to make the upsell only show under certain circumstances, for example if a certain product was in their cart, or if they spent at least $100.
- The Product Offer is the product that you offer to the customer after they checkout. You can pick the product directly, or you can rely on the Shopify recommendation engine to pick the product.
- You can change the Discount to be a percentage, a flat discount (eg $10 off), or you can select no discount.
- Your can change the Quantity to control what quantity the customer is allowed to purchase. You can limit them to a single item per upsell, for example.
- You can also change the Shipping fee that the customer is charged when they accept an upsell offer.
Once you are happy with your upsell settings, you can continue by clicking the Save and edit appearance button.
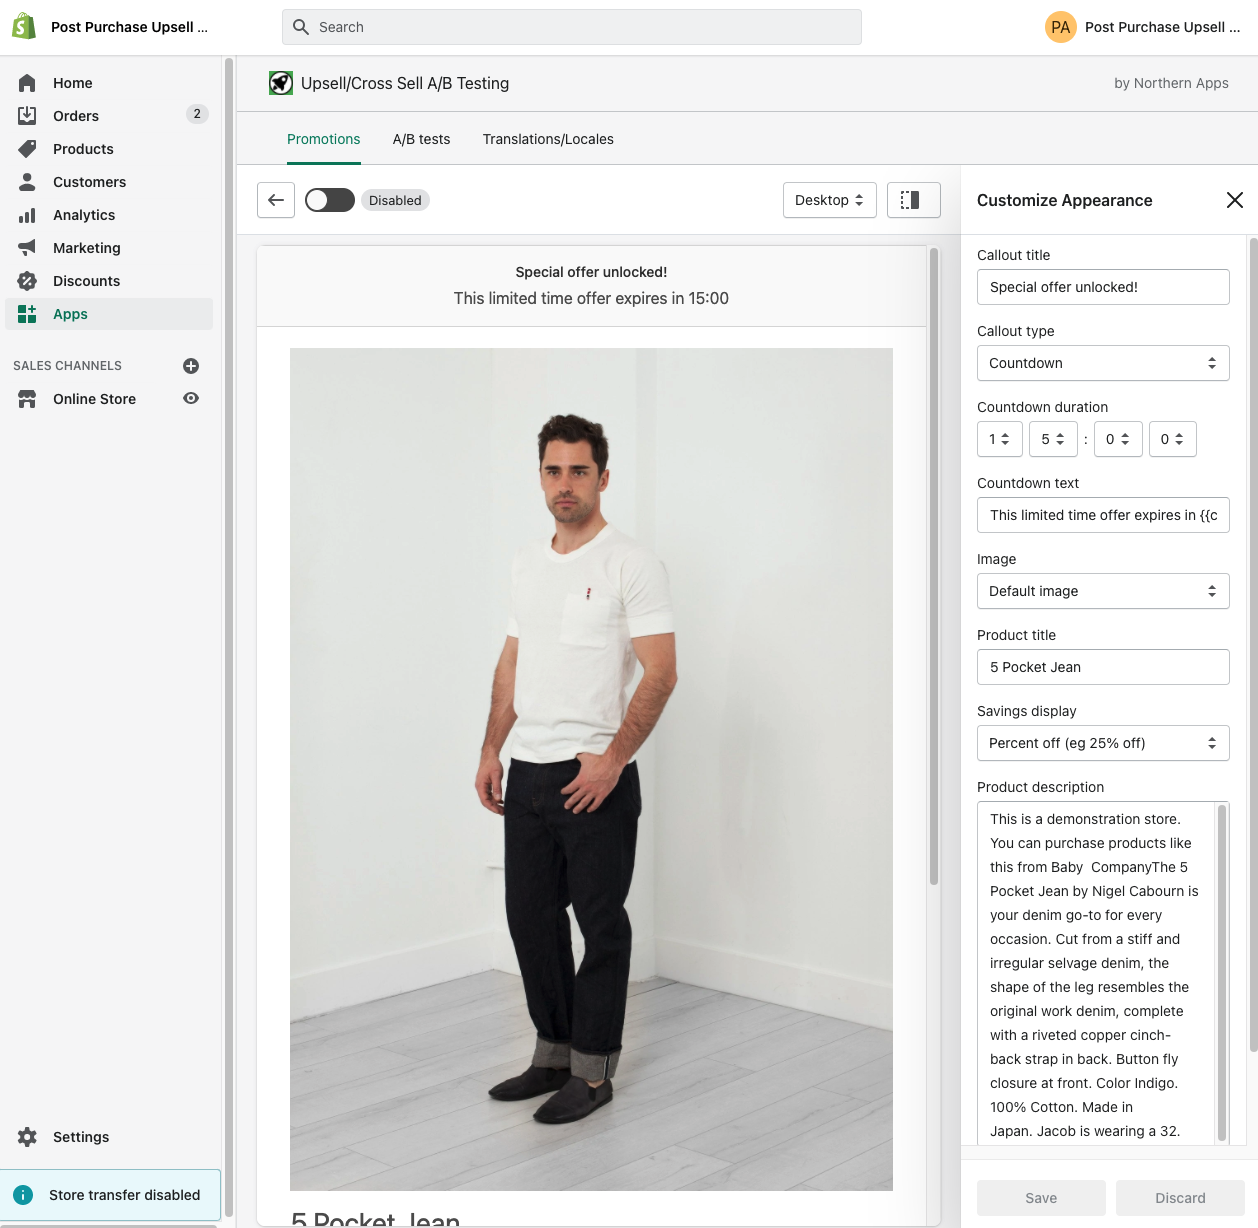
This page allows you to adjust the upsell promotion display settings. You can change the text that appears to customers, how the discount is shown, the countdown timer, the purchase summary (where taxes and total are shown), and the image shown.
When your are ready to turn the upsell promotion on you need to set the status as active. You can do this by clicking the toggle button on the top left of the appearance customizer, or from the upsell promotion create/edit page.